01Getting oriented

A colorist shapes
the image.

The work is both technical and creative: make images work together, protect the photography, and help the story feel intentional. Class 1 is about finding a common language for visual intent.

FREE + STUDIOCLASS 1 • FOUNDATIONS
COLORISTShape the final visual experience
DIRECTORStory + emotion
DPPhotographic intent
EDITORStructure + continuity
VFXFinished elements

THE GOAL Support the story and protect the intent of the photography.

02Core idea

Correction makes it work. Grading makes it feel.

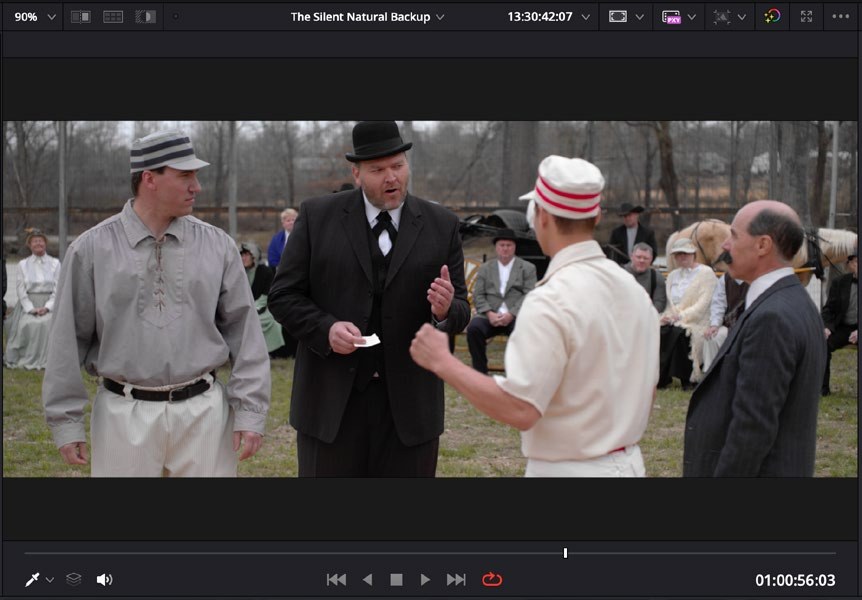
A film frame shown with a neutral correction treatmentBEFORE → BALANCED

COLOR CORRECTION

Does the image work?

Fix issues and balance the image.

  • Exposure
  • White balance
  • Color casts
  • Shot matching
The same film frame shown with a more stylized grade treatmentBALANCED → INTENTIONAL

COLOR GRADING

How should it feel?

Control the tone and texture of a film to create an emotional response.

  • Mood
  • Palette
  • Texture
  • Emphasis
03Resolve map

One application. Seven pages.

Each page gives you a different set of tools. You do not need to learn them all at once.

MediaFind + organize
Shift2
CutEdit fast
Shift3
EditBuild timelines
Shift4
FusionVFX + motion
Shift5
ColorCorrect + grade
Shift6
FairlightMix audio
Shift7
DeliverExport
Shift8

START WITH THREE Media → Edit → Color

MAC + WINMEDIAShift2
MAC + WINEDITShift4
MAC + WINCOLORShift6
Source: Beginner's Guide, p. 338
04Interface

The Media Page

Find it. Preview it. Organize it.

Select a label to spotlight that part of the interface.
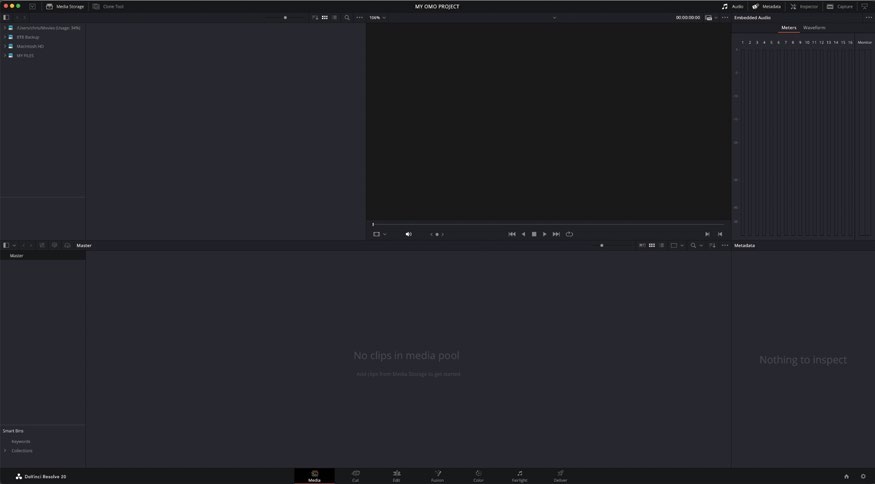
The DaVinci Resolve Media Page from the Beginner's Guide
DaVinci Resolve 20 Media PageSelected: Media Storage
MAC + WINMEDIAShift2
Source: Beginner's Guide, p. 338
05Compare

Media Storage is your drive. Media Pool is your project.

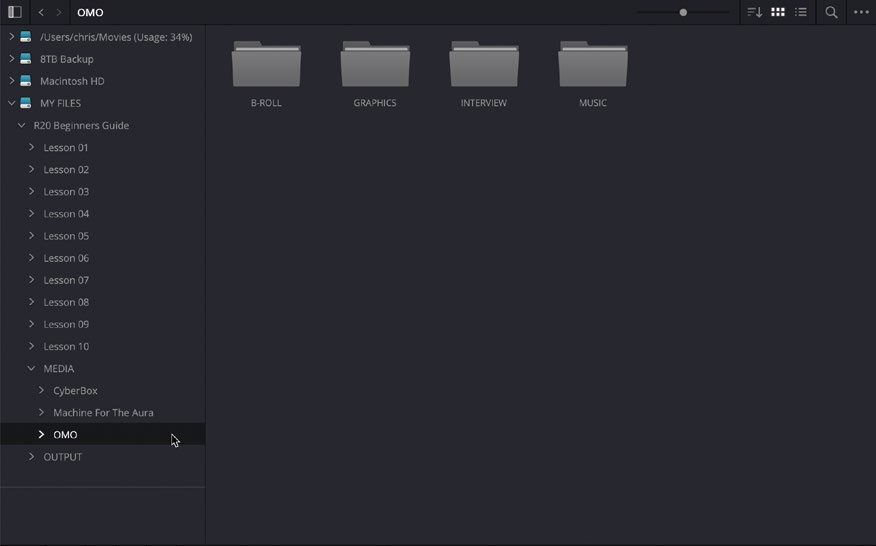
ON YOUR DRIVEMedia Storage showing folders on connected drives
MEDIA STORAGEBrowse actual files and folders.
IN THIS PROJECTMedia Pool showing clips inside a Resolve project
MEDIA POOLWork with clips Resolve knows about.

Adding a clip to the Media Pool says: “I want to use this media in this project.”

Source: Beginner's Guide, pp. 339, 352
06How to

Two easy ways to import footage

Both methods work. Use the one that fits the moment.

METHOD 1FAST + FAMILIAR

Drag it in

FOOTAGE
DRAG
MEDIAPOOL
  1. Open Finder or File Explorer.
  2. Select your clips or folder.
  3. Drag them into the Media Pool.
MAC • FINDERWIN • FILE EXPLORER
METHOD 2STAY IN RESOLVE

Use Media Storage

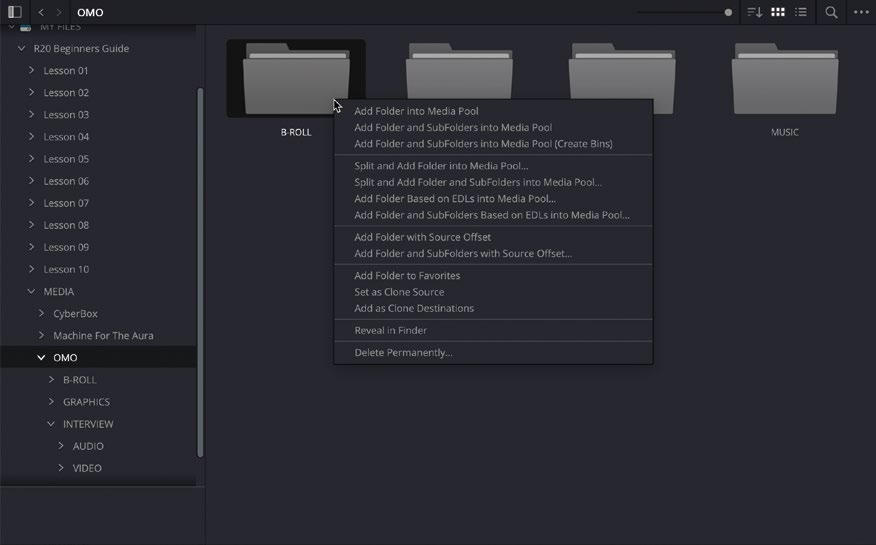
Media Storage context menu with options to add a folder to the Media Pool
  1. Open the Media Page.
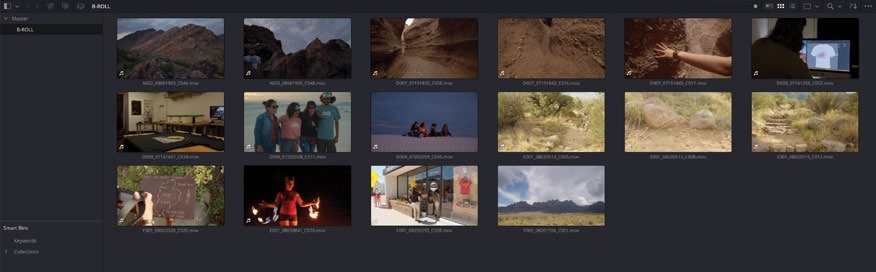
  2. Find your drive or folder in Media Storage.
  3. Select clips, or add a folder to the Media Pool.
Source: Beginner's Guide, pp. 350–352
07WATCH OUT

Resolve remembers where the original file lives. It does not automatically move, back up, or protect that file.

GOOD HABITOnce you start working, do not randomly move or rename source media.
Source: Beginner's Guide, p. 350
08Interface

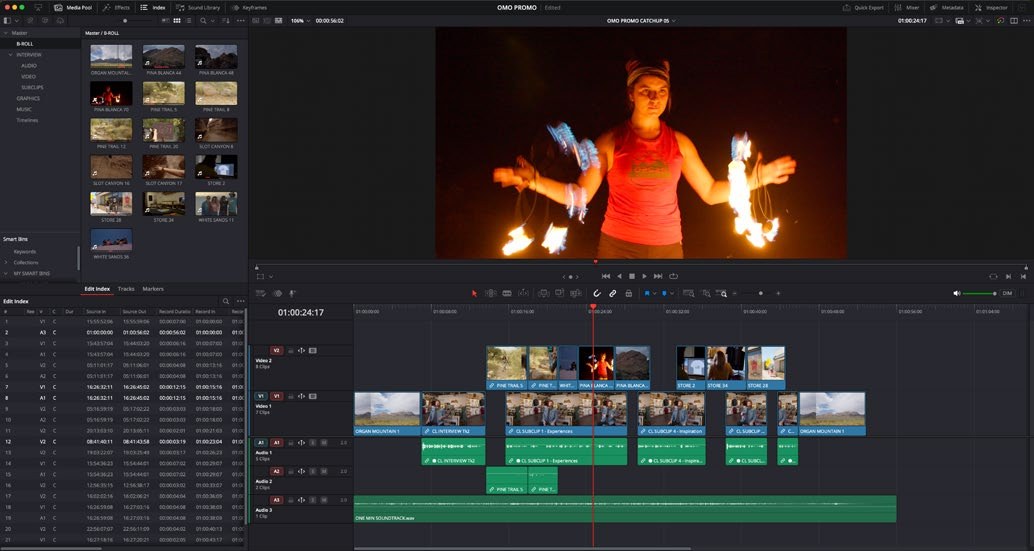
The Edit Page

This is where the timeline lives. Today, just learn the landmarks.

Select a label to spotlight that part of the interface.
The DaVinci Resolve Edit Page from the Reference Manual
DaVinci Resolve 20 Edit PageSelected: Media Pool
MAC + WINEDITShift4
Source: Resolve 20.3 Reference Manual, pp. 32–33
09Preview

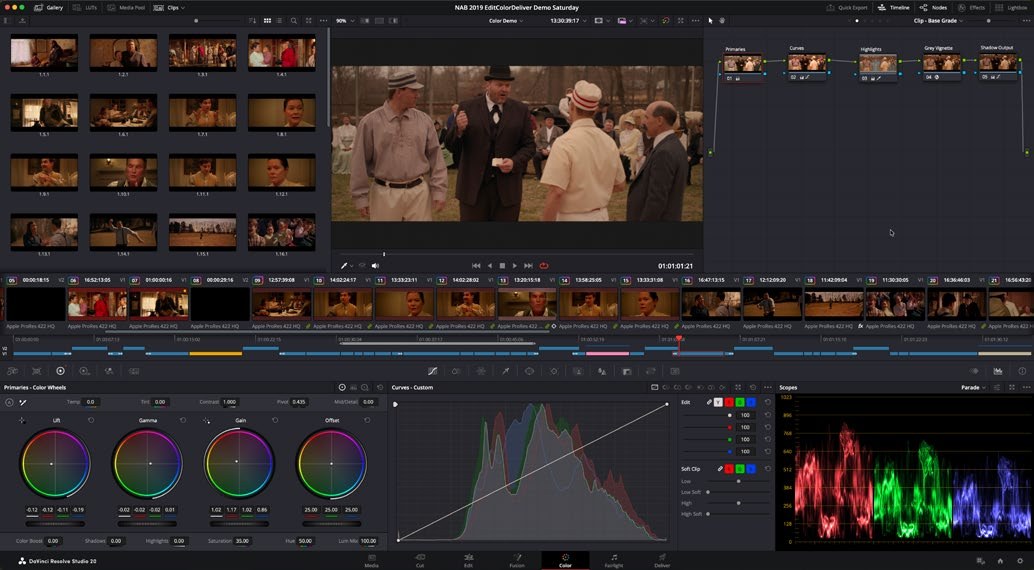
The Color Page

This is where we will spend most of the semester. You are not supposed to understand it all today.

Select a label to spotlight that part of the interface.
The DaVinci Resolve Color Page from the Reference Manual
DaVinci Resolve 20 Color PageSelected: Gallery
MAC + WINCOLORShift6
CORE GRADING TOOLS • FREE + STUDIONOISE REDUCTION • STUDIOClass 2: project setup, editorial import & the Color Page.
Source: Resolve 20.3 Reference Manual, pp. 42–44
10Big idea

Order matters.

Resolve processes an image through a chain. What happens first can change what happens later.
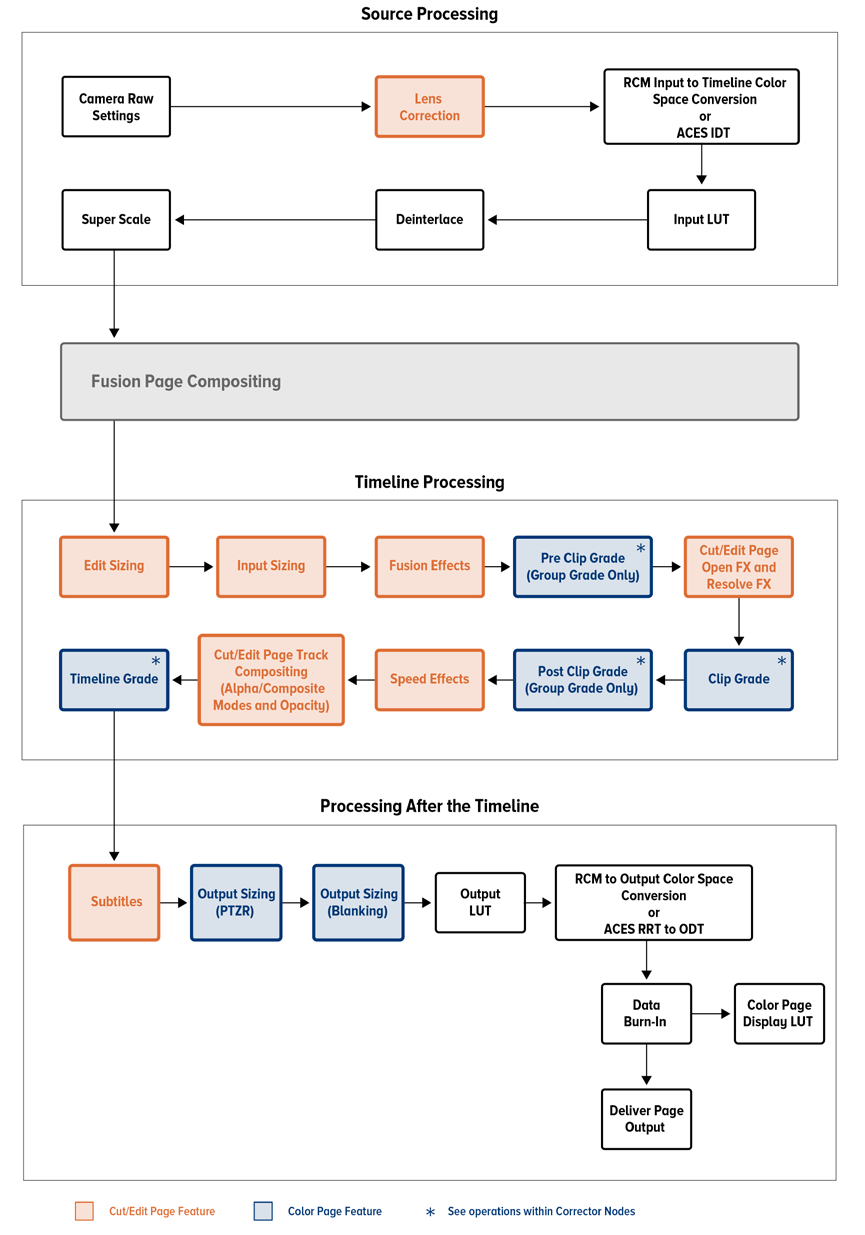
Blackmagic Design's overall image-processing order chart for DaVinci Resolve
The full chain is complex. You do not need to memorize it today.

REMEMBER THIS VERSION

01IMAGE INThe source arrives
02OPERATIONSomething changes it
03NEXT OPERATIONReceives that result
04IMAGE OUTThe final result

Change the order → you may change the result.

Source: Resolve 20.3 Reference Manual, Chapter 144, p. 3358
11Finding a common language for visual intent

Describe the image before you reach for a tool.

Before you say how to grade it, say how you want it to feel.
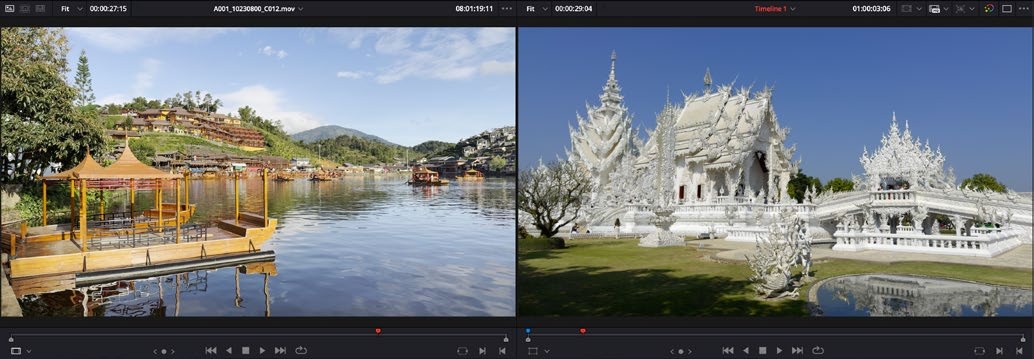
Two bright outdoor frames for visual analysis
What controls your attention?
A muted period film frame for visual analysis
What makes this feel like a memory?
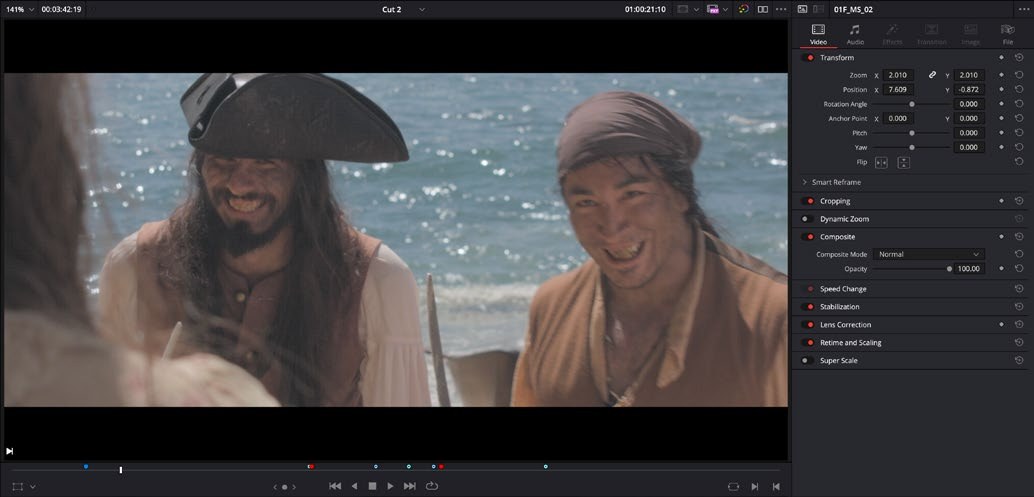
A cool-toned seaside film frame for visual analysis
Where does warm meet cool?

01Where does your eye go first?

02How does the image feel?

03What in the image is creating that feeling?

  • Tone
  • Contrast
  • Color
  • Saturation
  • Texture
  • Mood
  • Focus

MUNSELL TAKEAWAY

Your eyes are powerful—not objective instruments.

Human color perception varies. Context and visual adaptation can change what you think you see.

TRAIN YOUR EYE.DON'T BLINDLY TRUST YOUR EYE.
12

END OF CLASS

Remember these.

01Correction fixes and balances. Grading controls tone, texture, and emotion.

02Resolve uses pages for different jobs.

03Media Storage is your drive. Media Pool is your project.

04Importing links media. It does not copy it.

05Resolve processes images in an order.

CLASS 2
Project Setup, Editorial Import and The Color PageProject Libraries/databases, .drp import and export, media organization, bins, a basic timeline, page navigation, backup and portability—and the question: What do you want the image to feel like?
Sources + image credits

Course emphasis follows the EMF 378 syllabus and instructor's Class 1 plan. Interface screenshots are educational excerpts from Blackmagic Design training materials.

The Beginner's Guide to DaVinci Resolve 20 ↗DaVinci Resolve 20.3 Reference Manual ↗

DaVinci Resolve is a trademark of Blackmagic Design. This course reference is not an official Blackmagic Design publication.